Configure Front End
With your S3 Bucket now created, you will now connect it to the TravelBuddy web app by configuring the front end.
Importing Storage module
-
Open up the Navigation Bar component file in the following directory:
src/components/layout/NavigationBar.js -
Import the Storage module from AWS Amplify in the Navigation bar component file by adding the following import statement to the top of the file:
import { Storage } from "aws-amplify"
Populating functions to GET, PUT and DELETE objects from S3 Bucket
In the TravelBuddy code bundle, the bodies of the following 3 functions in src/App.js have been removed: useEffect, saveFile and removeProfilePic.
const NavigationBar = (props) => {

  const [click, setClick] = useState(false);
  const [profileModal, setprofileModal] = useState(false);
  const [isLoading, setisLoading] = useState(false);
  const [photoUploaded, setphotoUploaded] = useState(false)
  const [isError, setisError] = useState(false)
  const [username,setUsername] = useState("")

  useEffect(() => {
    Auth.currentAuthenticatedUser({
      bypassCache: false
  }).then(user => setUsername(user.username))
  .catch(err => console.log(err));
  }, []);

  useEffect(() => {
  // Insert code here
  }, []);

  const saveFile=()=>{
 // Insert code here
  }

  const removeProfilePic = () => {
 // Insert code here
  }
In this section, we will complete the functions to better understand interactions with S3 bucket to allow users to upload and remove their profile pictures.
The following React useEffect Hook is called each time the Navigation bar component is being rendered. Learn more about React Hooks here.
In the body of the function, the method Storage.list lists all objects present in the S3 Bucket and returns a list of object names. Within this list of object names, an attempt is made to look for a match between the names of the objects, and the user’s username. A match would indicate that the S3 bucket contains a profile picture of the user.
If a match is found, the method Storage.get downloads the object from the S3 bucket, and displays it on the Navigation bar with the setprofileState method.
useEffect(() => {
      console.log("Storage",username)
      Storage.list('',{level :'public'})
        .then(result => {
          result.map((key) => {
            if (username === key.key){
              console.log("Existing Profile Picture found in S3 bucket:", key.key);
              setphotoUploaded(true);
              var URL = username.replace(/\s/g, '');
              Storage.get(URL)
              .then(data=>{
                setprofileState({
                  fileUrl:data,
                  filename:username,
                })
              })
              .catch(err=>{
                console.log('error fetching image', err);
              })
            }
          })
        })
        .catch(err => console.log(err));
    }, [username]);
In the following function SaveFile, the method Storage.put allows the user to upload a profile picture into the S3 bucket.
  const saveFile=()=>{
    if (profileState.fileUrl!=='') {
      setisLoading(true)
      Storage.put(profileState.filename, profileState.file)
        .then(()=>{
          console.log("Successfully saved file!")
          setisLoading(false);
          setphotoUploaded(true);
        })
        .catch(err=>{
          console.log("Error uploading file", err)
        })
    }
  }
In the following function removeProfilePic, the method Storage.remove allows the user to remove a previously uploaded profile picture from the S3 bucket.
  const removeProfilePic = () => {
    console.log(profileState.filename)
    Storage.remove(profileState.filename)
    .then(result => console.log(result))
    .catch(err => console.log(err));

    setprofileState({
      fileUrl:"",
      file:"",
      filename:""
    });
    setphotoUploaded(false);
  }
After completing the functions, the storage functionality should work as intended - let’s try it out!
Storage Functionality Demonstration
- Return to the landing page of our TravelBuddy web application. Create an account and sign in.

- Click on the account username at the top right hand side of the Navigation Bar. A modal titled
Select profile pictureshould appear as shown below.
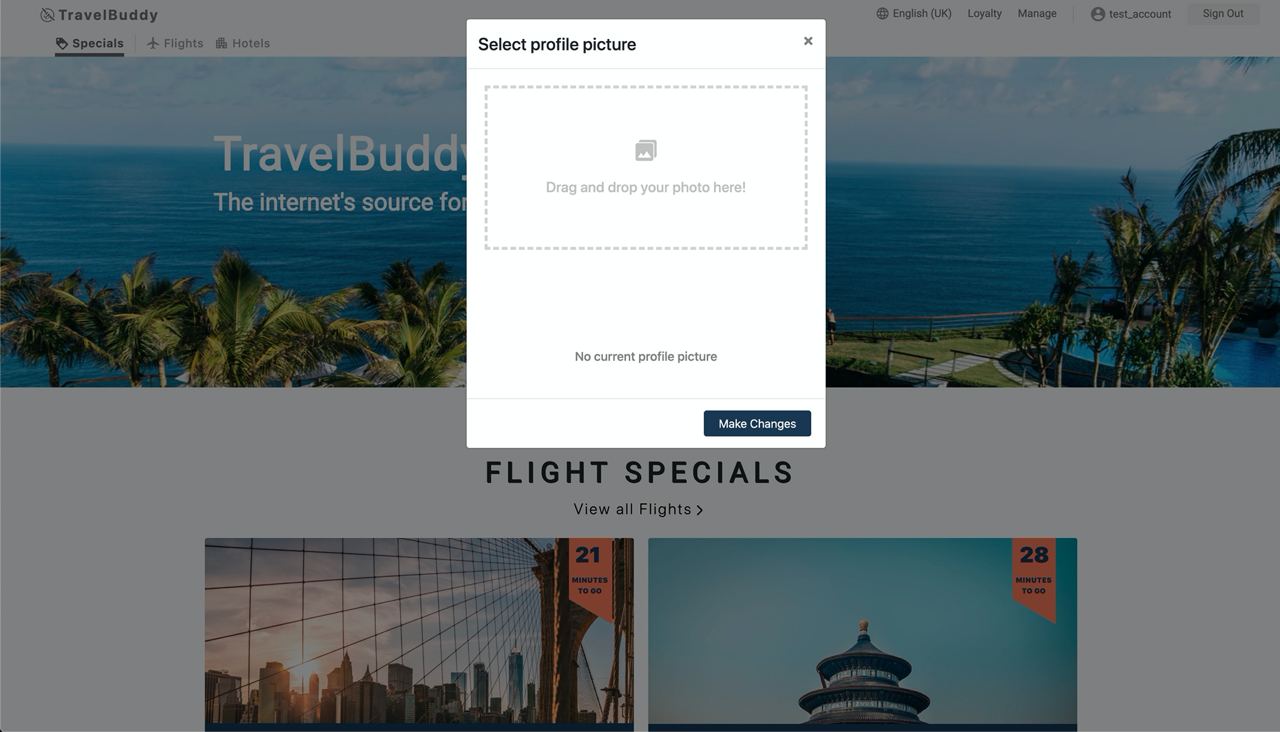
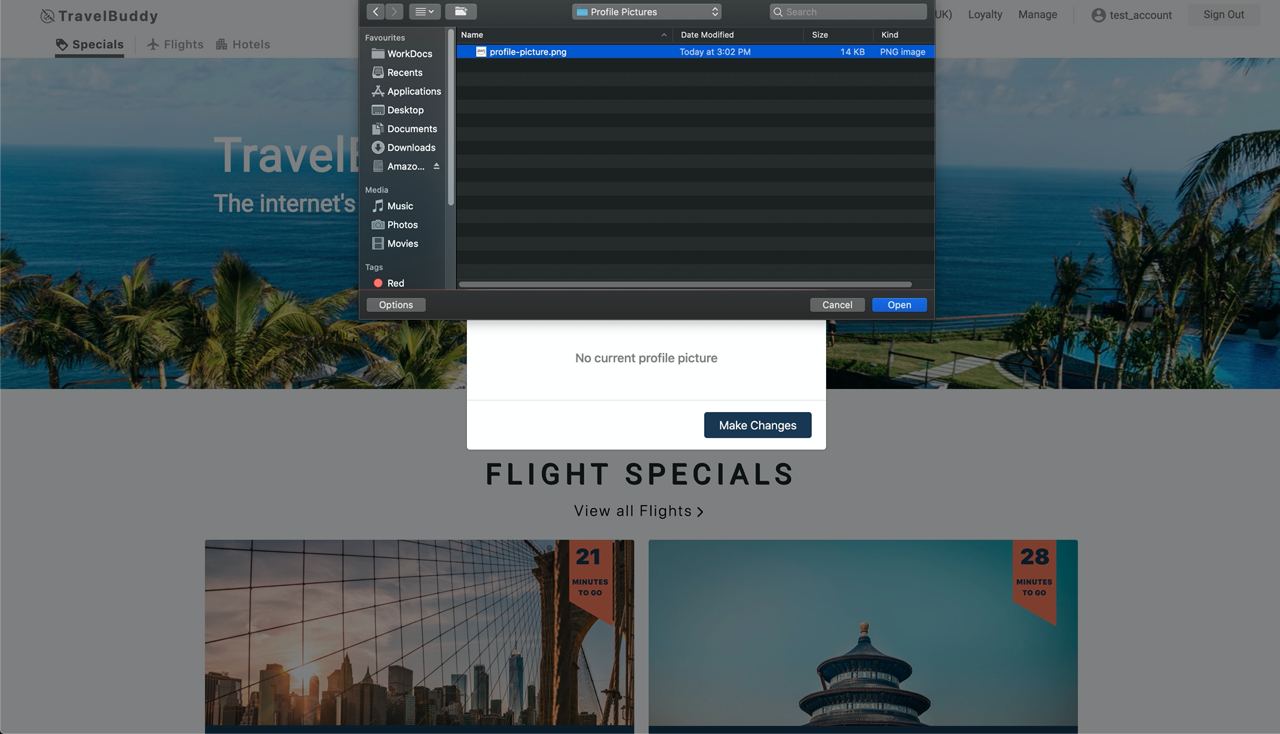
- Upload a profile picture (JPG/PNG file) either by dragging and dropping it into the drop zone in the modal, or by clicking the drop zone.
- A preview of your uploaded image should appear at the bottom of the modal. Click
Make Changes.
This action triggers the saveFile method from above, which uploads the uploaded image into the S3 Bucket.
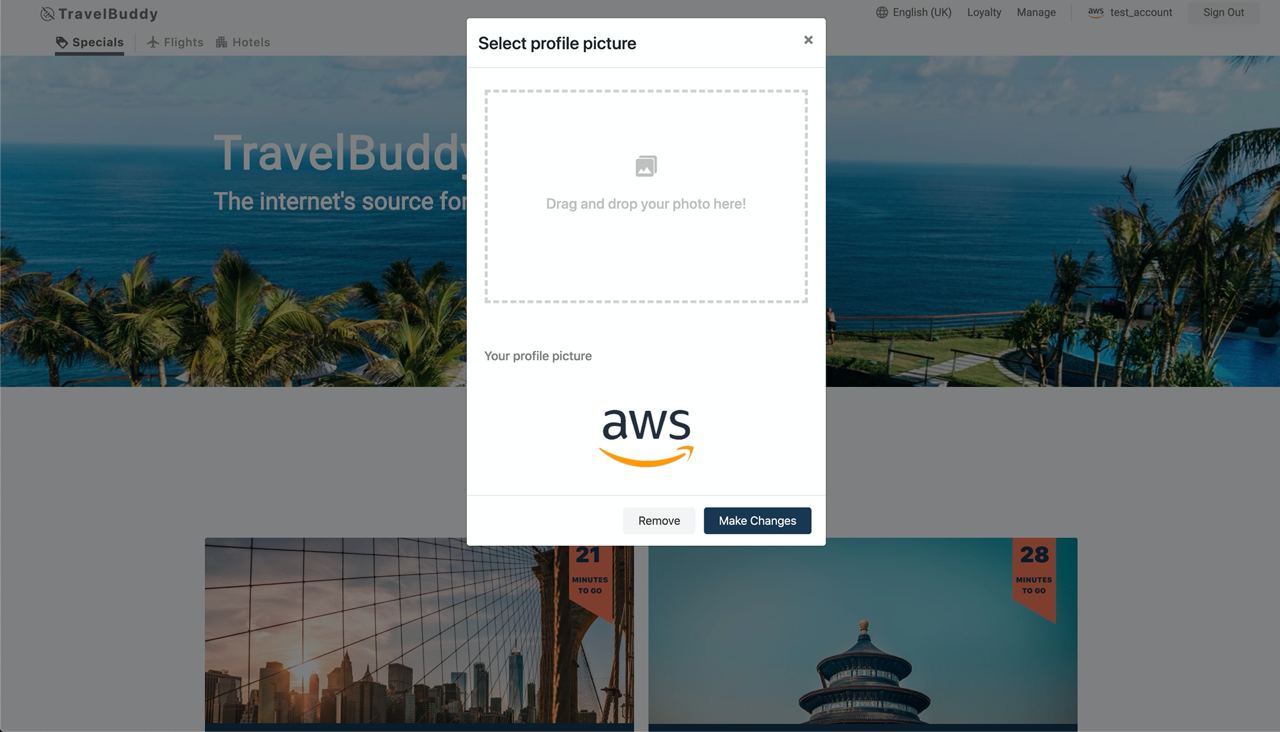
- Verify that the thumbnail at the top right hand side of the Navigation bar has been updated with your uploaded image. Viola!

- Let us verify that the removal functionality works as well.
Click on the account username at the top right hand side of the Navigation Bar.
Select the Remove button at the bottom of the modal. This action triggers the removeProfilePic method from above, which deletes the uploaded image from the S3 Bucket.
The preview of your profile picture should disappear, showing you a message of “No current profile picture” as shown below. Similarly, we can see that the thumbnail at the top right hand side of the Navigation bar has returned to the default display picture.
There we have it - we have successfully incorporated User Storage capabilities with Amazon S3 and AWS Amplify and have written code to incorporate CRUD functionalities!