With CodeCommit
First, let’s upload our source code to CodeCommit.
AWS CodeCommit is a fully-managed source control service that hosts secure Git-based repositories. It makes it easy for teams to collaborate on code in a secure and highly scalable ecosystem. CodeCommit eliminates the need to operate your own source control system or worry about scaling its infrastructure. You can use CodeCommit to securely store anything from source code to binaries, and it works seamlessly with your existing Git tools.
Creating a new repository on CodeCommit
-
Under Services - type in CodeCommit. This will bring up a new screen as shown below:
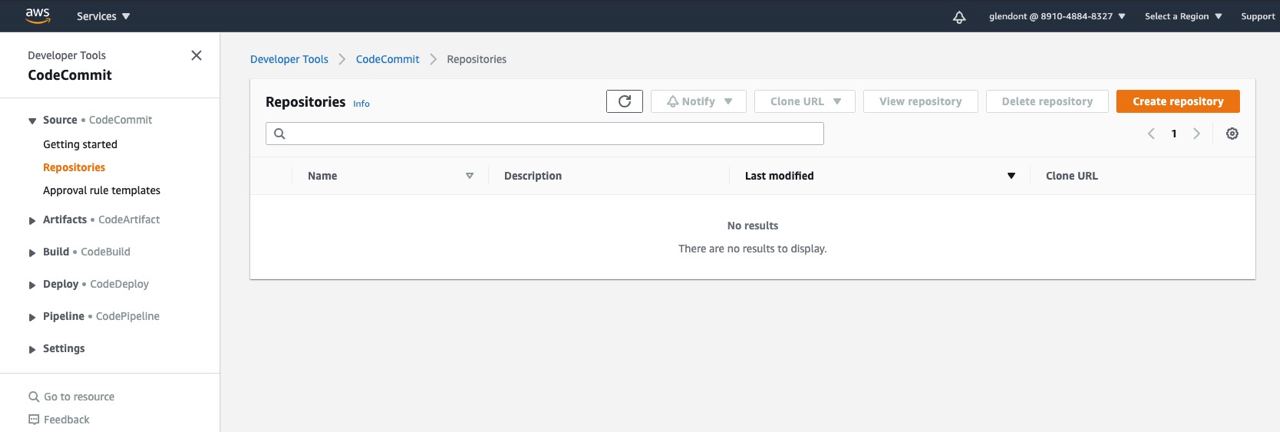
-
Select
Create repository. -
For
Repository name, entertravelbuddy-webapp -
Select
Create. -
Now that the repository is created, set up an IAM user with Git credentials in the IAM console following these instructions.
-
Back in the CodeCommit console, from the Clone URL drop down, select Clone HTTPS

- From a terminal window run git clone and the HTTPS URL of the respository:
$ git clone <HTTPS URL>
Cloning into 'travelbuddy-wedapp'...
Username for 'https://git-codecommit.us-east-1.amazonaws.com':XXXXXXXXXX
Password for 'USERID': XXXXXXXXXXXX
warning: You appear to have cloned an empty repository.
Populate the CodeCommit repository with TravelBuddy source code
- Now that the repository is initialised, let us populate the repository with our TravelBuddy source code.
Copy the contents of the TravelBuddy bundle previously downloaded into this newly created folder.
- Commit the change to your CodeCommit repository using the following git commands.
git add .
git commit -m "First Commit"
git push
As we are pushing the entire project source code into the Repository with a single commit, this process might take some time [>10mins].
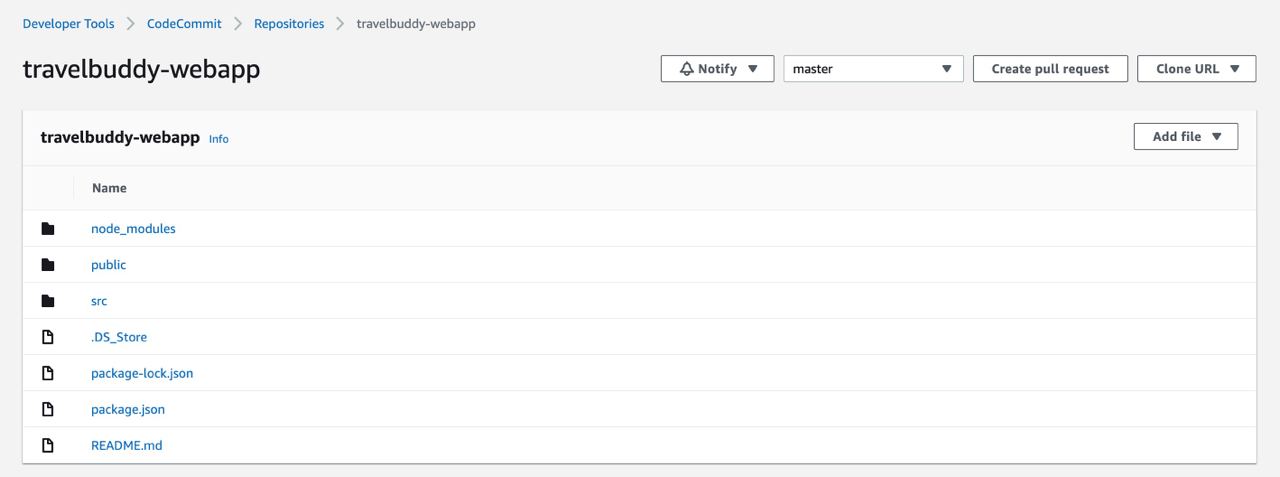
- Verify that the TravelBuddy source code is now populated in the CodeCommit repository.
Deploy with AWS Amplify
Now that we have populated our CodeCommit repository with the project source code, let’s deploy our repository with AWS Amplify!
-
Under Services - type in Amplify -> create app. This will bring up a new screen as shown below:
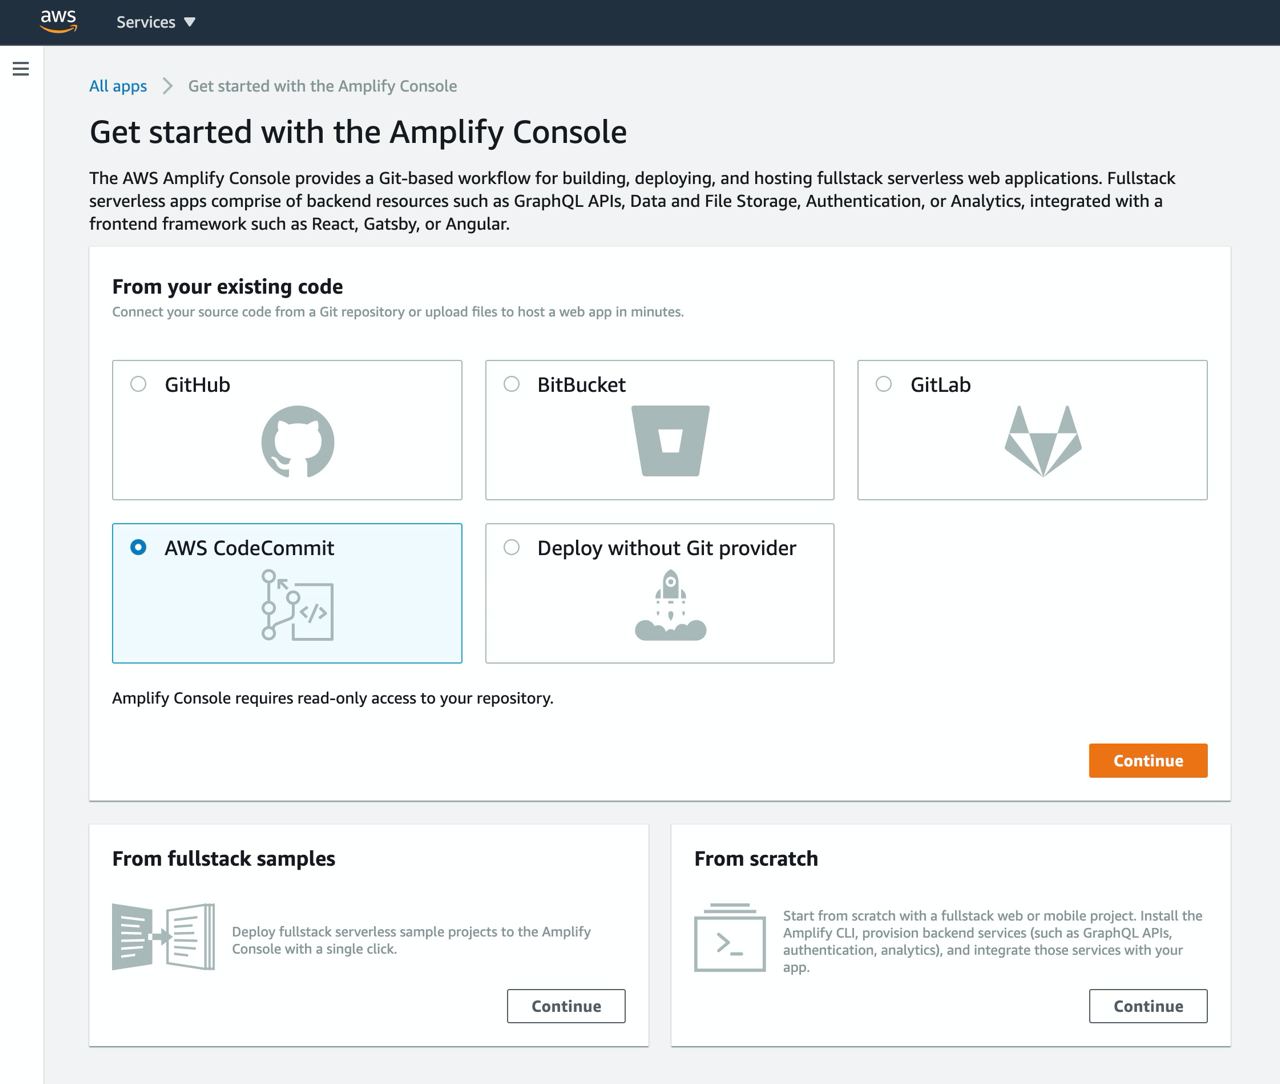
-
In this demonstration, select
CodeCommitand selectContinue. -
Under
Recently updated repositories, select your TravelBuddy CodeCommit repository by clicking the dropdown bar. -
Under
Branch, select the master branch and click Next. -
For
Application name, entertravelbuddy-webapp -
Check “Deploy updates to backend resources with your frontend on every code commit”
-
Select or create a new IAM role to allow the Amplify Console to access your AWS resources. Click
Next.
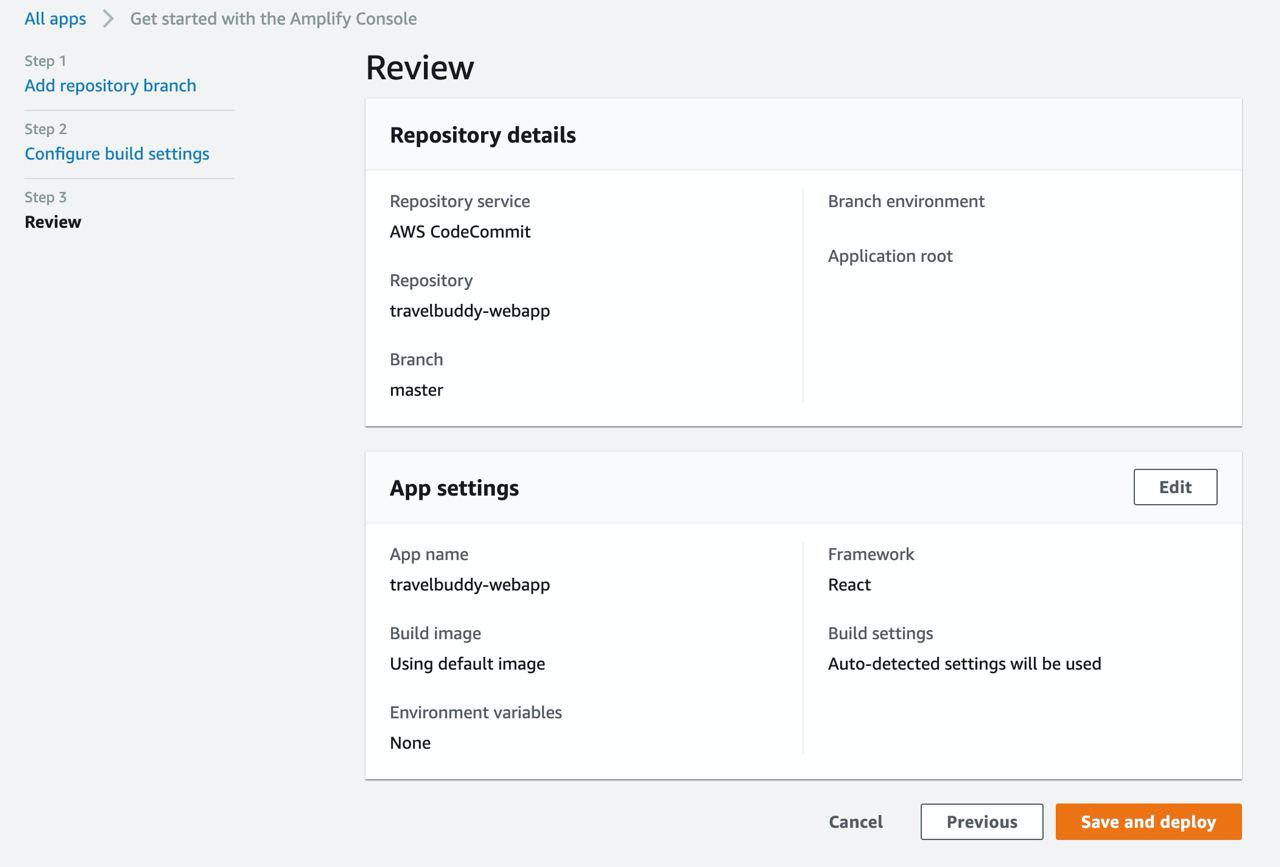
- On the “Review” page, Select
Save and deploy.
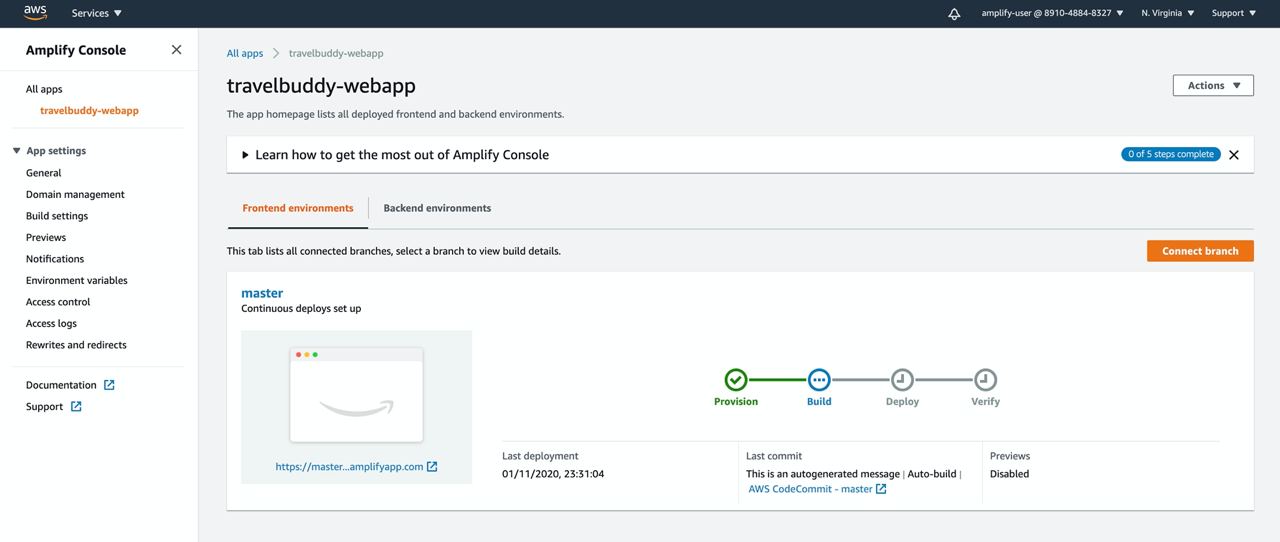
- The process takes a couple of minutes for Amplify Console to create the necessary resources and to deploy your code.
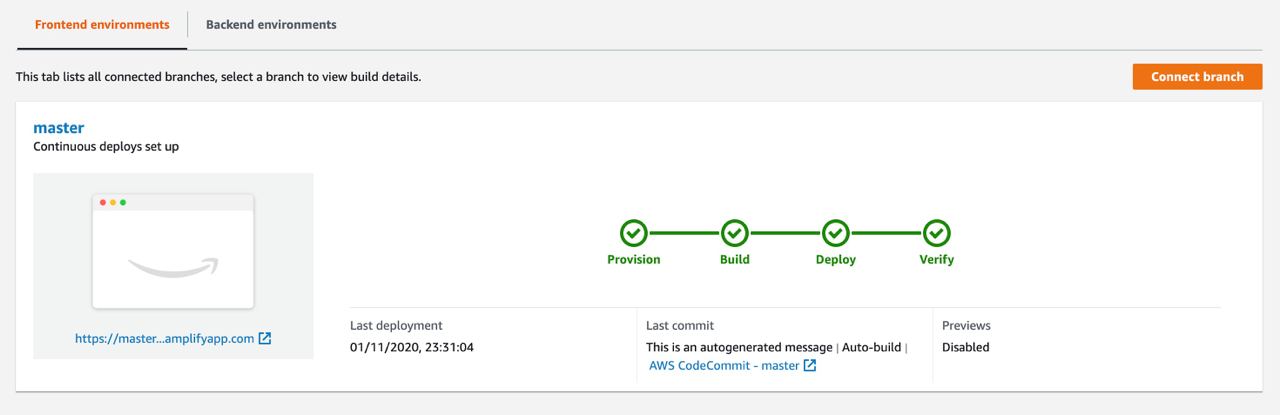
- Once completed, click on the available link to launch your TravelBuddy site.
You will be taken to the TravelBuddy website hosted on AWS Amplify.
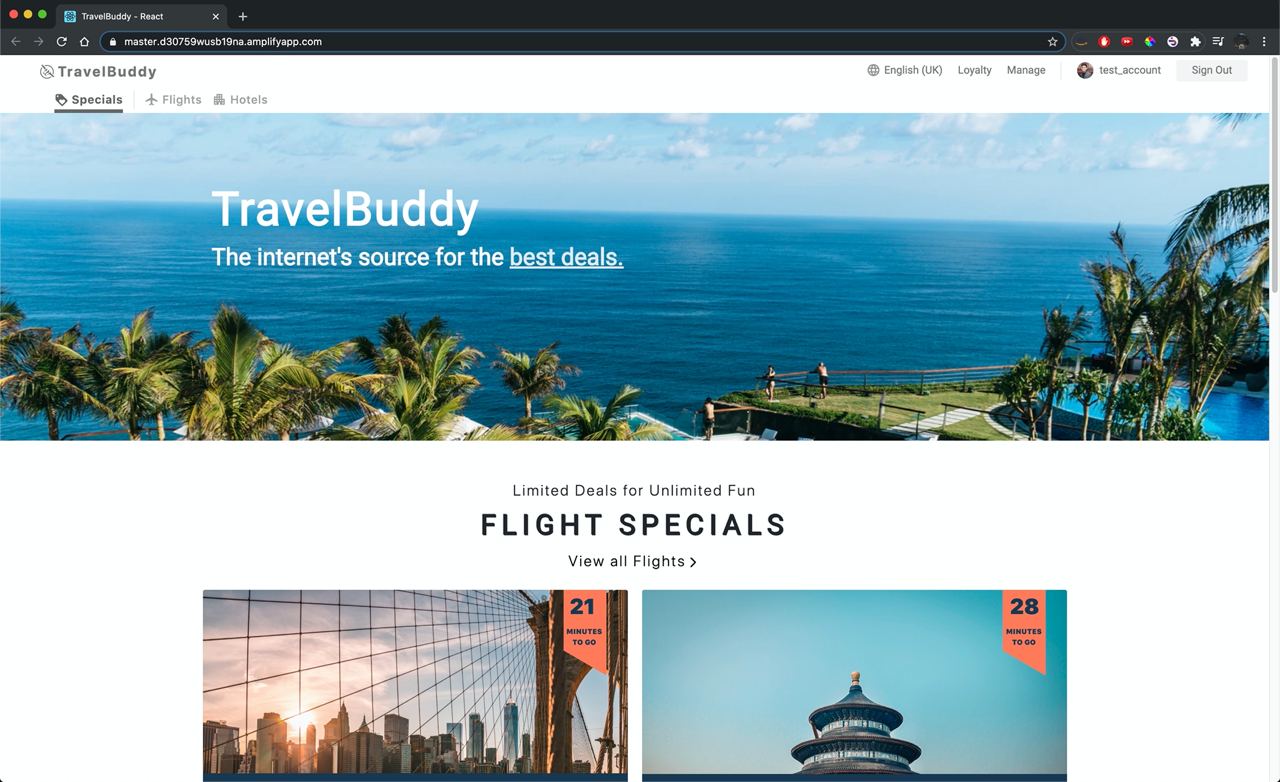
With that, your web application is now deployed!