With GitHub
First, let’s upload our source code to a Git-based provider of your choice.
AWS Amplify supports multiple Git-based providers such as Github, BitBucket, GitLab and AWS CodeCommit.
In this lab, we will be using Github for demonstration. Ensure that you have uploaded the TravelBuddy bundle files to a Github repository.
Deploy with AWS Amplify
-
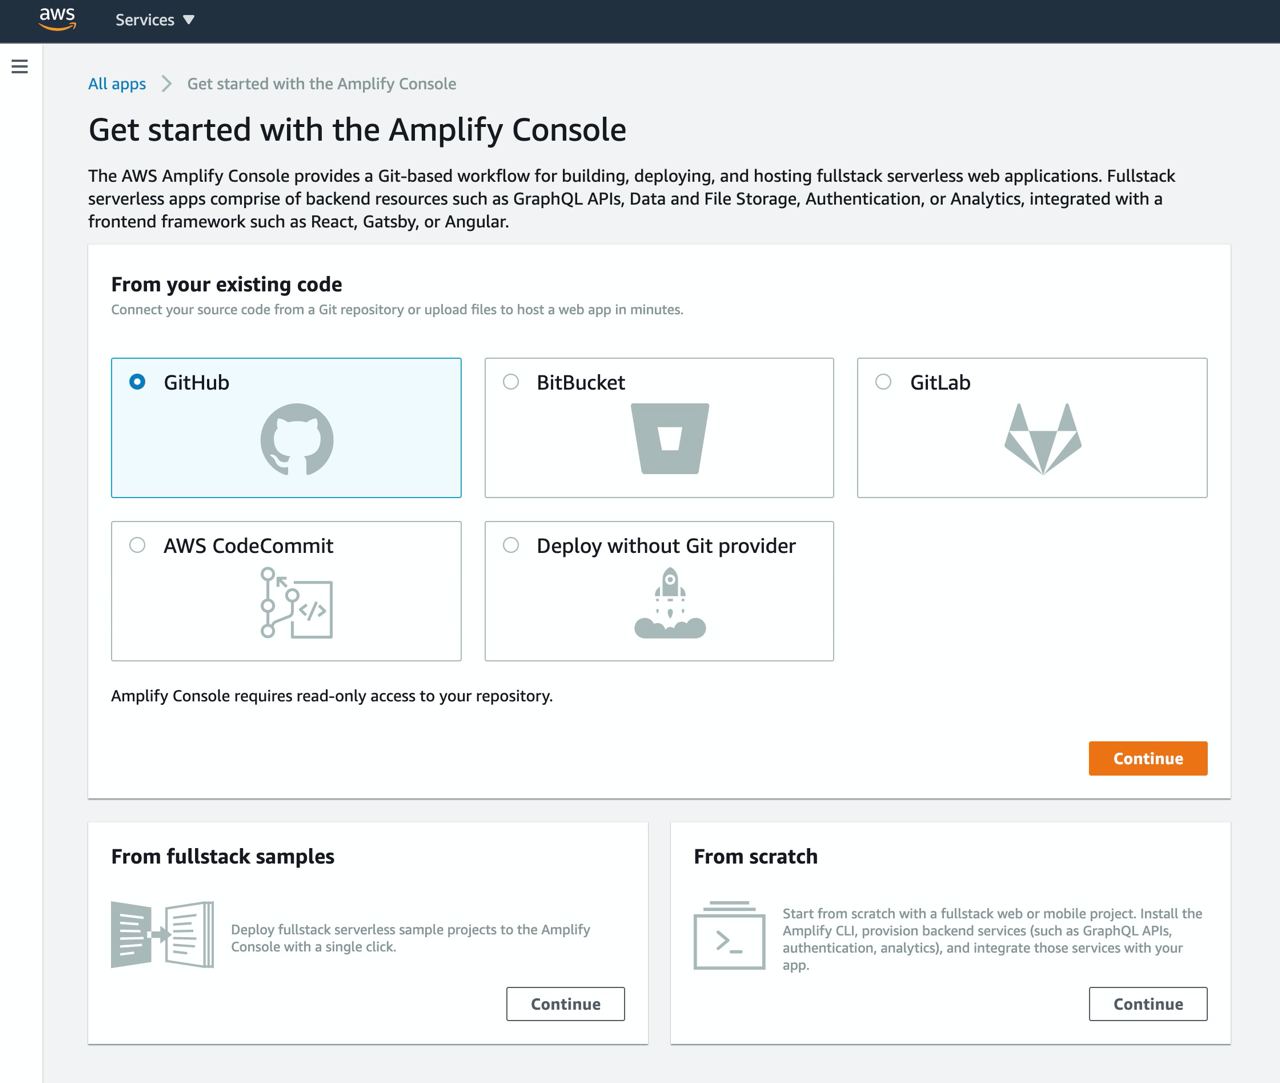
Under Services - type in Amplify -> create app. This will bring up a new screen as shown below:
-
In this demonstration, select
GitHuband selectContinue. -
Enable GitHub authorization by signing in with your GitHub account credentials.
-
Under
Recently updated repositories, select your TravelBuddy repository by clicking the dropdown bar. -
Under
Branch, select the master branch and click Next. -
For
Application name, entertravelbuddy-webapp -
Check “Deploy updates to backend resources with your frontend on every code commit”
-
Select or create a new IAM role to allow the Amplify Console to access your AWS resources. Click
Next.
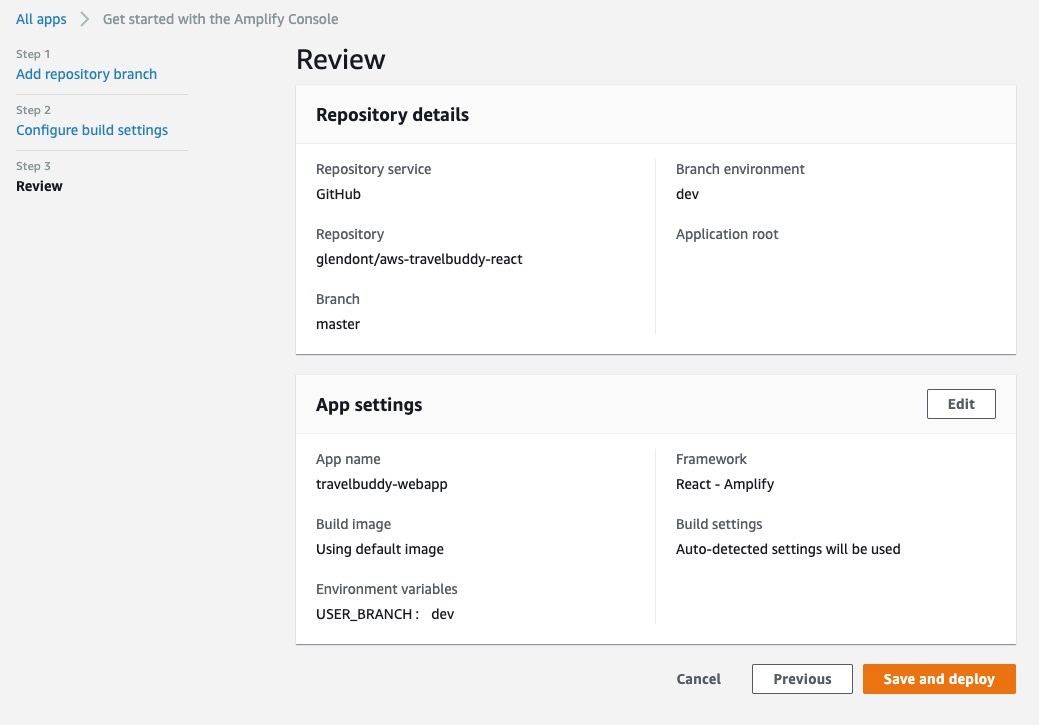
- On the “Review” page, Select
Save and deploy.
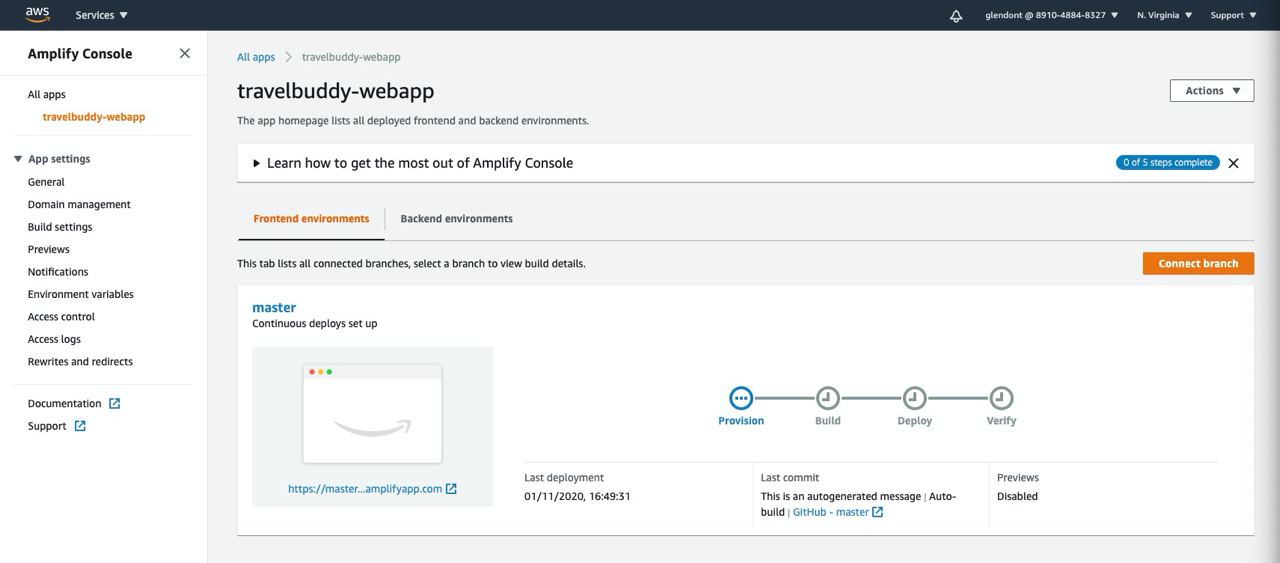
- The process takes a couple of minutes for Amplify Console to create the necessary resources and to deploy your code.
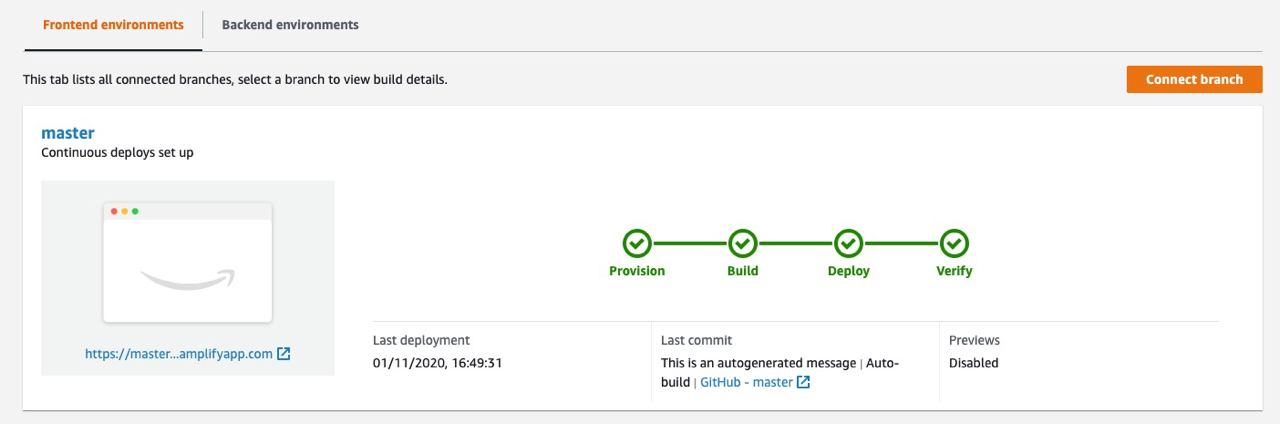
- Once completed, click on the available link to launch your TravelBuddy site.
You will be taken to the TravelBuddy website hosted on AWS Amplify.
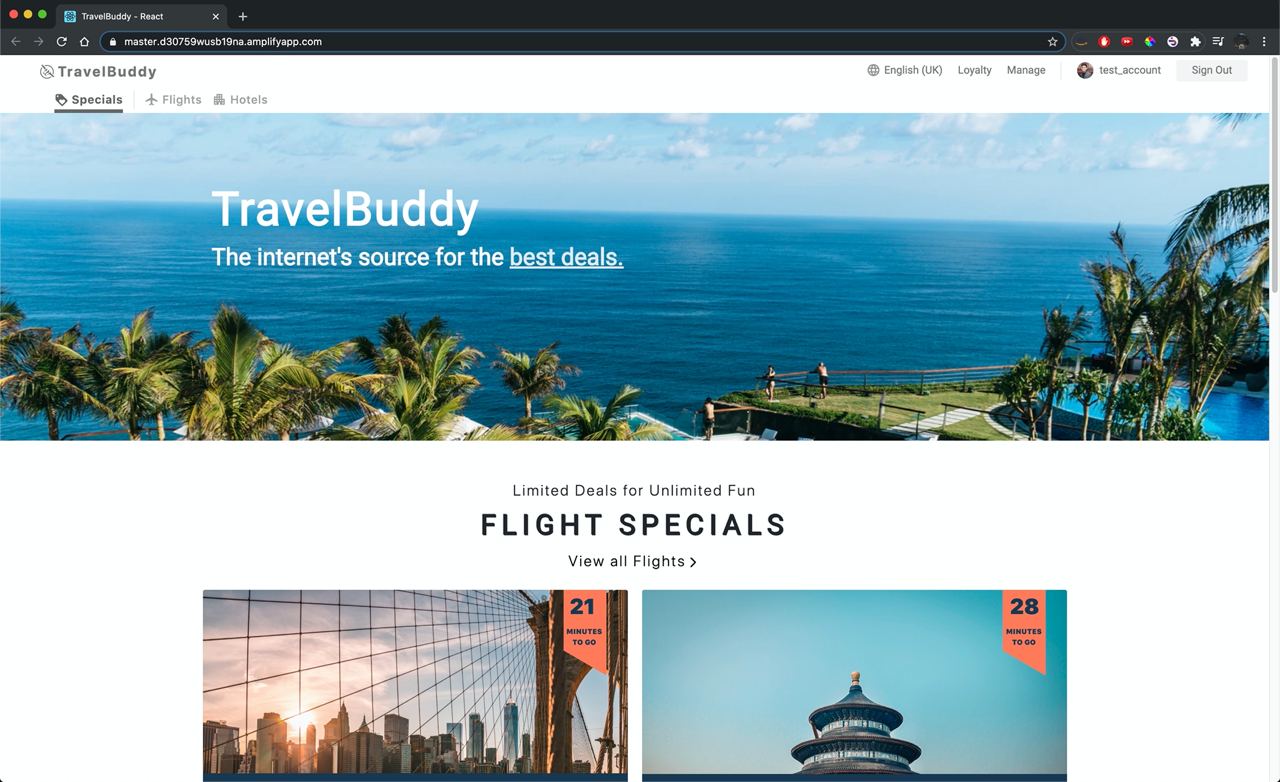
With that, your web application is now deployed!