APJ SA LEAP DAY STUDY JAM > Local Deployment > Test locally > Use VSCode IDE
Use VSCode IDE
Setting up Integrated Development Environment
- Open the VSCode IDE.
- Click
Open folder... - Browse to the TravelBuddy package you downloaded and click
Open. - Along your menu bar, select
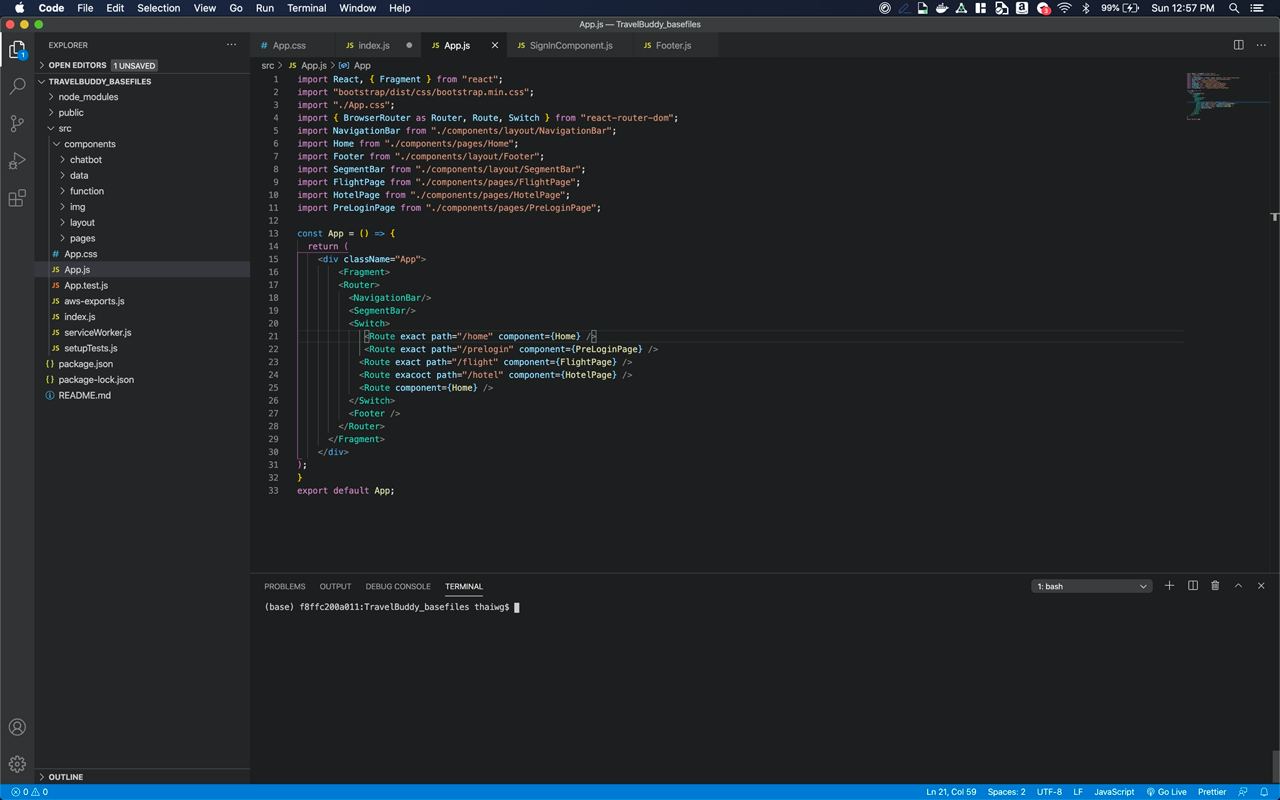
View, then selectTerminal[^`]to launch a terminal at the bottom of the IDE. - Your development environment should look like this
Install Project Dependencies
- In the newly launched terminal, install project dependencies with the command ‘npm install’
npm install

When installing project dependencies for the first time, the process should take 3-5 mins.
Deploy Project Locally
- After the project dependencies are installed, deploy the project locally with the command ‘npm start’
npm start

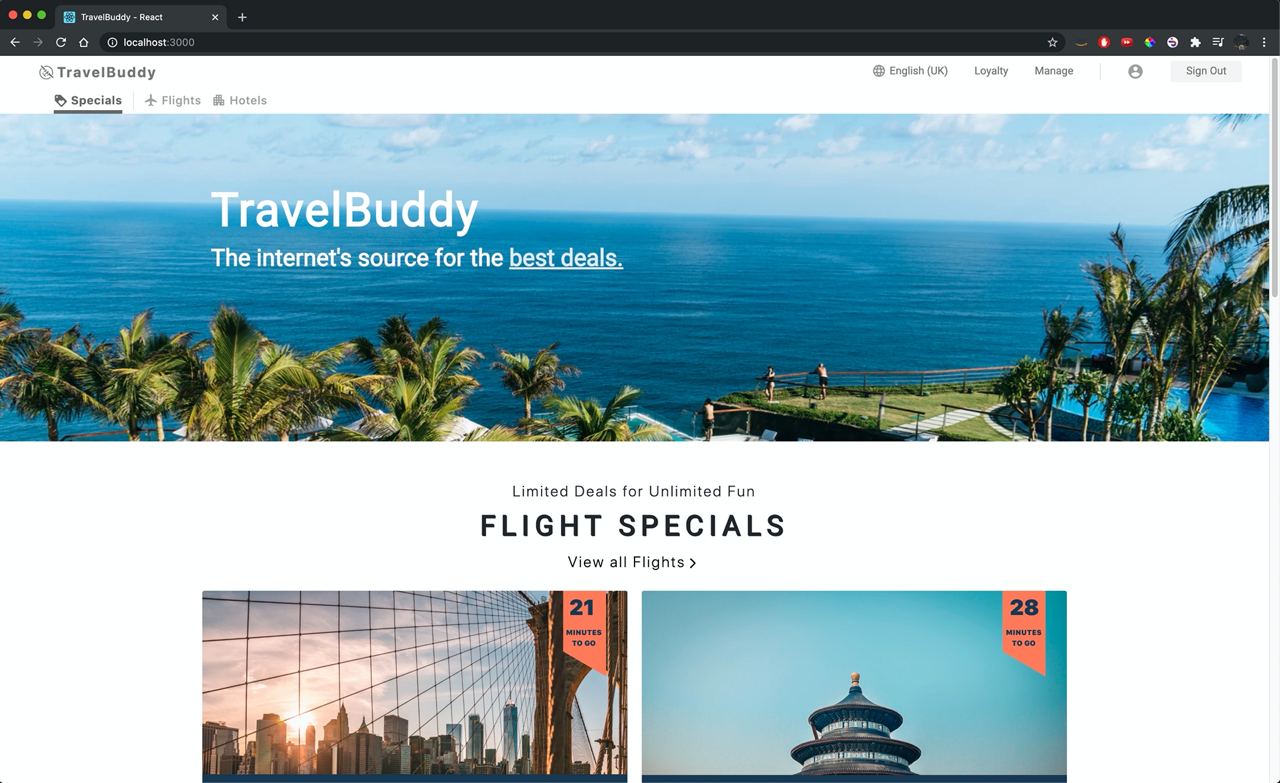
- Access the TravelBuddy application in a browser by the following http://localhost:3000/
You must install the project dependencies before deploying the project or the launch will fail.
You could also access the TravelBuddy application in a browser by following http://localhost:3000/
Note the following:
- The app will automatically reload if you make changes to the code. You will see the build errors and lint warnings in the console.
Privacy |
Site Terms |
Cookie preferences |
© 2020, Amazon Web Services, Inc. or its affiliates. All rights reserved.